
 " width="500" height="214" alt="ccb" />" />
 " width="500" height="185" alt="PicMonkey Collage" />" width="500" height="214" alt="ccb" />" />
 " width="500" height="185" alt="PicMonkey Collage" />" width="500" height="214" alt="ccb" />" />
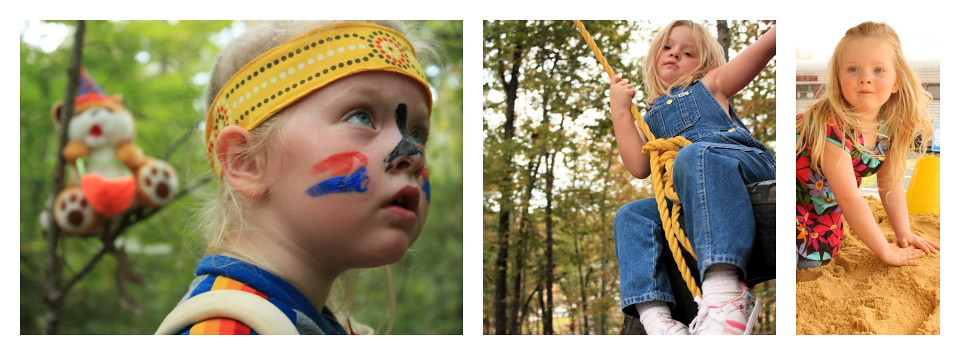 " width="500" height="185" alt="PicMonkey Collage" />" width="500" height="214" alt="ccb" />" />
 " width="500" height="185" alt="PicMonkey Collage" />" width="500" height="214" alt="ccb" />" />
 " width="500" height="185" alt="PicMonkey Collage" />" width="500" height="214" alt="ccb" />" />
 " width="500" height="185" alt="PicMonkey Collage" />" width="500" height="214" alt="ccb" />" />
 " width="960" height="355" alt="PicMonkey Collage 85" />" width="500" height="185" alt="PicMonkey Collage" />" width="500" height="214" alt="ccb" />" />
 " width="960" height="355" alt="PicMonkey Collage 85" />" width="500" height="185" alt="PicMonkey Collage" />" width="500" height="214" alt="ccb" />" />
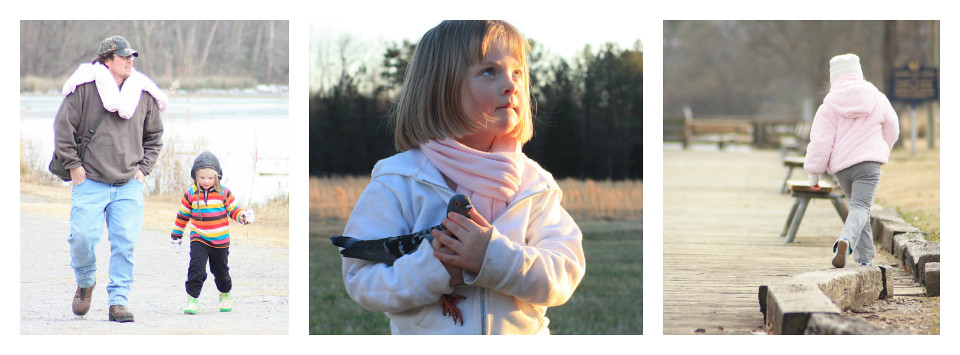 " width="960" height="355" alt="PicMonkey Collage 85" />" width="500" height="185" alt="PicMonkey Collage" />" width="500" height="214" alt="ccb" />" />
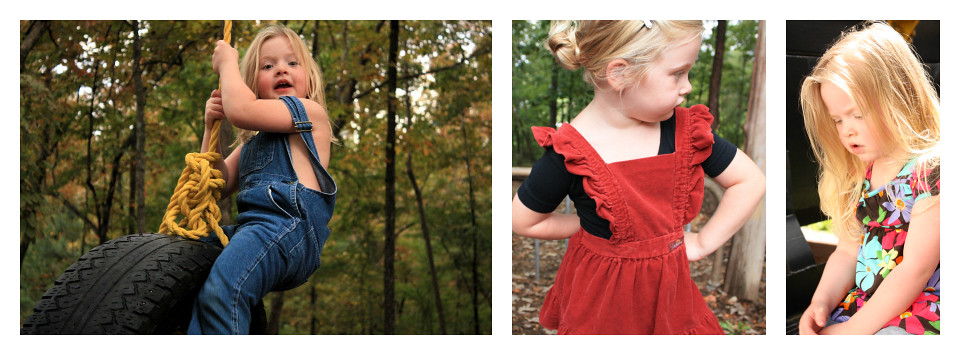 " width="960" height="355" alt="PicMonkey Collage 85" />" width="500" height="185" alt="PicMonkey Collage" />" width="500" height="214" alt="ccb" />" />
 " width="500" height="185" alt="PicMonkey Collage" />" width="500" height="214" alt="ccb" />" />
 " width="960" height="355" alt="PicMonkey Collage 85" />" width="500" height="185" alt="PicMonkey Collage" />" width="500" height="214" alt="ccb" />" />
 " width="960" height="355" alt="PicMonkey Collage 85" />" width="500" height="185" alt="PicMonkey Collage" />" width="500" height="214" alt="ccb" />" />
 " />" width="500" height="214" alt="ccb" />" />
Recently Foghorn Leghorn was invited to the birthday party of a sweet friend. In fact, this is a friend whom she has said she will marry because he is kind, has a nice voice, and is cute. We needed to make a good impression. We can all see what was at stake. Right? RiGHT?
Alright then. I got to thinking. For a while I seriously contemplated making a rubber band gun for the child. I mean, what is THE must have toy for every little 4 year old boy? A weapon that slings painful shots of rubber, of course! I even sketched out a rough outline of a pistol on a 2X4. But then I remembered I was out of jig saw blades. The last time I checked prices at the local hardware store they were around $20.00 for a pack of 4. Nix the rubber band gun. Your welcome, Wyatt's mother.
So. I asked myself, "What does this boy really enjoy? What does he love?" The answer was simple. Chickens. From the moment I met Wyatt, it was obvious that he loves his chickens. And we all know there are times when you can't hang out in the coop.
So. I asked myself, "What does this boy really enjoy? What does he love?" The answer was simple. Chickens. From the moment I met Wyatt, it was obvious that he loves his chickens. And we all know there are times when you can't hang out in the coop.
So I searched the internet for chicken tutorials. Believe it or not, stuffed chickens are scarce in the world wide web. But, I did find one thing. See it on my laptop there? It is a pattern. Did I mention, I don't have a printer?


First I cut my basic chicken shape from fleece. 2 of them.

To get one side of the belly shape, I traced the underside of the chicken side onto a small piece of felt.

To ensure both sides were exactly the same, I just folded it over and cut it out.
Then, I stopped taking photos of the process. I am a terrible tutorial maker. I think it is because throughout any sewing project, I am continually doubting it will work. I am always one step away from giving up. I know with one wrong cut, the whole thing could be ruined and I generally don't have the drive to start from over and risk failing again. BUT, I was determined to make this chicken work. I sewed one eye on three times before I got it right. I read each set of instructions several times before making a cut or a stitch. I think the main reason I put forth so much effort into this project is because Chuck was impressed by it. With each new completed step, he was complimentary and encouraging. This is not usually the case with him. I think having a connection to the recipient and his parents helped. Also, neither of us knew I could sew a stuffed animal.
If you are serious about following this tutorial, then go here. It is what I used, and far better than any instructions I could put together.

I made his legs from an old sweater. I only resorted to a sweater after realizing chicken leg sized denim will NOT turn right side out after it has been sewn. Neither will cheap felt. It's got no give.

When I was finished with the hard parts, Foghorn Leghorn stuffed him. This small step made my little Lion/Hippie (check out her costume) feel like she was really involved in the making of this bird. Don't underestimate the small stuff.
After he was packed full, I watched this youtube video on how to sew an invisible ladder stitch to close that hole up.
For this chicken I have prayed.

Seriously.
I prayed for this chicken. I prayed that it would turn out alright. I needed to succeed.


Yo Adrian,

I did it.
12 Comments


OMG.
ReplyDeleteThis chicken lovin' neighbor of yours wants one and wants to know how much money you will charge her to make her one.
Must.
Have.
That.
Chicken.
Sent you an email (I think? Dunno if I have the right address.)
am starting a by-invite "blog" that I'll send via email to avoid crazy Internet stalker.
You can forward the email to yo momma too. I like her. :)
akmoosepoop AT gmail to RSVP.
How adorable Hayley!! What a cute chicken. I remember the little boy that loved chickens from your post titled Recent Photo Shoot. Did he like it? What a great gift idea! You have always been such a thoughtful gift giver. Those are always the best ones. I can't believe you carried those strips of paper or coupons that Chuck could cash in later that you made him for his birthday all the way to Alaska. When he tried to cash one in for some homemade cookies you told him it was expired. That was funny. Great idea Moose Nugget!! Thanks for including me on your invitation only blog. So glad you found a safe way to share with friends, family and fans of your writings.
ReplyDeleteI love this chicken! What a brilliant idea! And you are so talented! :)
ReplyDeleteOh MY Word!! That is the cutest chicken I have ever seen!! You did an Awesome job :)
ReplyDeleteHe will Love it!!
You are so creative and talented!!
HHAHAHAHAHAAHHAAAHAHAHAHA!!!! Dat chicken got a crazy look on his face!! I started laughing out loud when I saw the pic of just his legs dangling there in front of the window. That's a realllllly cute and well-done chicken, sister. So adorable, and there will never be another one like it. It's rare to see homemade stuff like this nowadays. It takes work to sit and think about what somebody loves, and then scout out the perfect gift, and then MAKE IT FROM SCRATCH. Tell Charley I love the chicken ya'll made together, too. Hey, next time, let Charley put a little heart inside when she stuffs him, like at Build-A-Bear. Wudd'n that be sweet?
ReplyDeleteThanks Moose Nugget! I am super flattered! As far as the price (if you are serious) I will have to get back to you on that after we've moved. Right now, our place is in a moving mess. I am trying to hold onto my sewing machine as long as possible but it won't be long before it is in a box somewhere, lost in the shuffle.
ReplyDeleteThanks Ma. Thanks Susan. Thanks Miz Liz. He did like it. But I caught his little brother toting it around the party. It was real cute.
ReplyDeleteSister, I too laughed hysterically every time I looked at him. I couldn't control it. Just ask Chuck. That heart idea would be sweet. Next time.
ReplyDeleteLove your chicken! You did a great job and he looks fun as well as cuddly!
ReplyDeleteO. M. G
ReplyDeleteSeriously awesome! I'm your newest fan ~ come say HI sometime k?
p.s Glad I'm not the only one with mountains of snow!
Thanks antmee and Heather at Dragonfly Designs!!
ReplyDeleteGreat post!! And one great chicken!! Thanks for auditioning for OMTWI!!
ReplyDelete